

Quick Summary
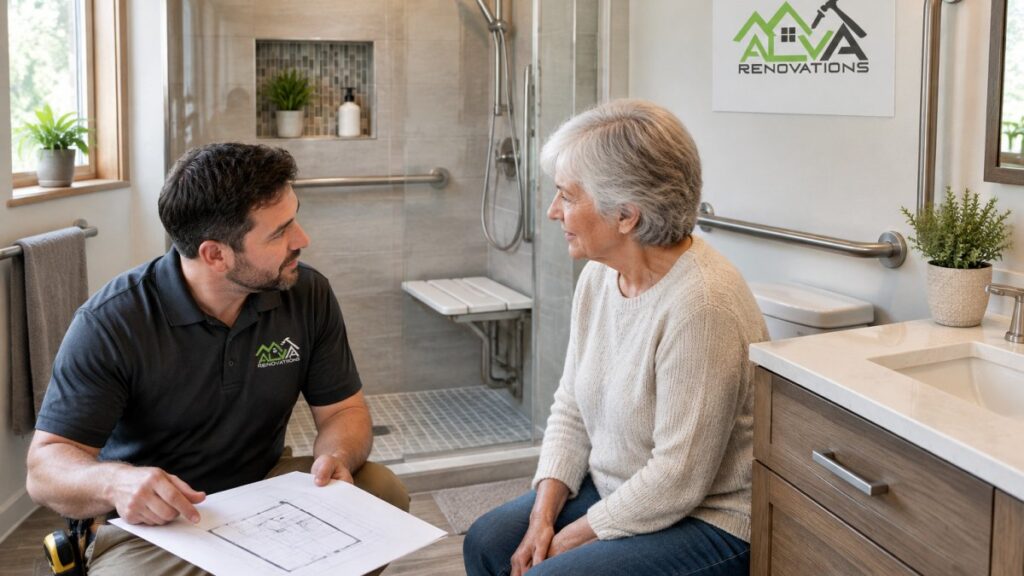
Remodeling a bathroom for aging in place means designing for safety, access, and ease of use now while still allowing for changes later. Key steps include slip-resistant flooring, a curbless or low-threshold shower, proper grab bar blocking, and a clear layout for turning space.
- Choose textured or matte tile rated for wet areas to reduce slipping.
- A curbless shower removes the step that most often causes trips and falls.
- Grab bars must anchor into solid wood blocking or framing, not drywall.
- Install blocking during the remodel, before walls are closed up, for reliable bars.
- Keeping toilet and shower in existing locations avoids the costliest plumbing changes.
Table of Contents
- Why the Bathroom Is the Room to Plan First
- Safety Features That Prevent Falls
- ADA Compliant Bathroom Dimensions and Layout Planning
- Best Grab Bar Placement for Seniors
- Aging in Place Bathroom Cost and Budget Trade-Offs
- Senior Bathroom Remodel Grants and Funding Options
- Planning Your Aging-in-Place Bathroom Project Next
- Frequently Asked Questions
Why the Bathroom Is the Room to Plan First
Last Updated: November 10, 2026
Most homeowners who plan to stay in their house for the long haul eventually face the same question: what happens when mobility changes? Research published on PubMed Central reviews how home modifications for aging in place relate to functional independence, quality of life, and caregiving burden, and systematic review of home modifications for aging in place supports the case for acting before a crisis forces the decision.
Remodeling a bathroom for aging in place means designing for safety, access, and ease of use now, while still allowing for changes later. Pricing depends on the scope of work, the fixtures chosen, and the condition of the existing plumbing. Affordable bathroom upgrades that boost resale value show which changes deliver a return and which to skip.
Safety Features That Prevent Falls
Falls in the bathroom are a leading concern for older adults, and the wet, hard surfaces of a typical bathroom make them more likely. Most fall-prevention upgrades are simple: better footing, a stable place to hold, and a shower entry without a step. Planning these features together gives you the most protection for the cost.
Slip-Resistant Flooring and Tile Selection
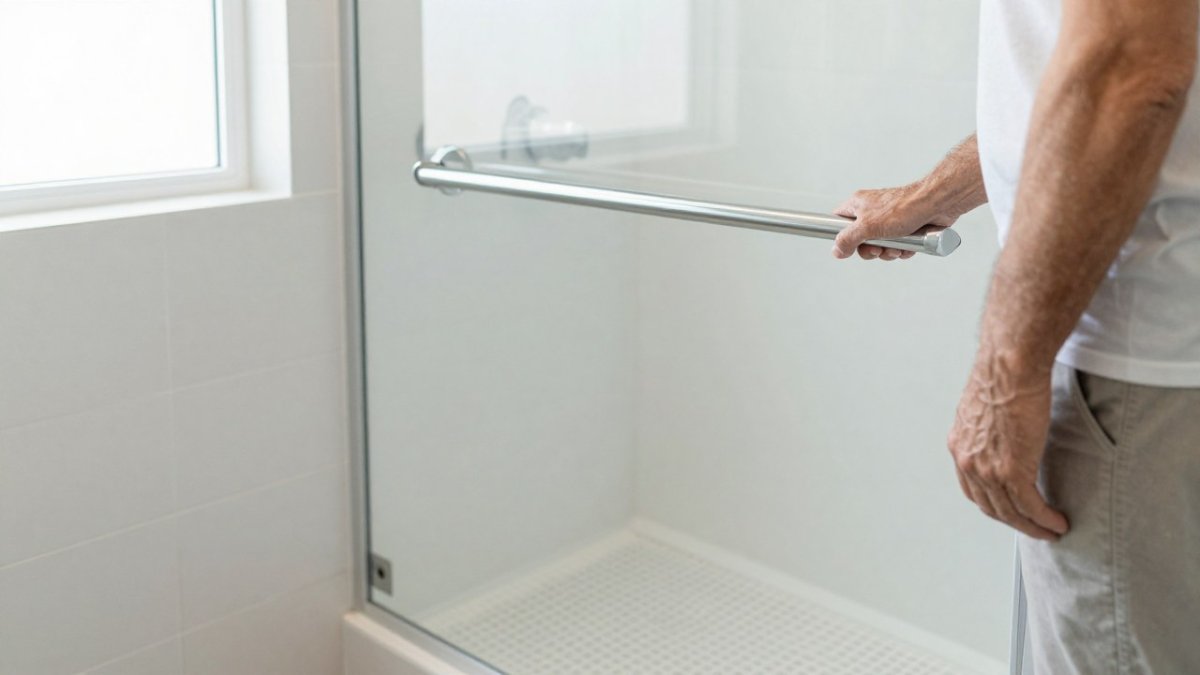
Floor surfaces are the foundation of bathroom safety. Choose tile with a textured or matte finish, and check that it is rated for wet areas before you buy. Glossy tile can become hazardous when water collects on it, even when it looks clean. Grout lines also matter, since smooth, narrow grout gives more secure footing than wide, uneven joints.
Curbless and Walk-In Shower Access
A curbless shower, sometimes called a zero-threshold shower, removes the step that most often causes trips and falls. It also makes wheelchair or walker access possible if needs change later. Many bathroom guides list curbless showers alongside grab bars and shower benches as core safety features. If a full curbless layout is not possible, a low threshold is a practical middle ground that still reduces the lift required to step in.
ADA Compliant Bathroom Dimensions and Layout Planning
Layout determines whether an aging-in-place bathroom is usable in practice. A clear maneuvering space is important so someone can turn a wheelchair or walker without backing out.
Small bathrooms are common in older homes, and they can still be made workable. Our guides on small bathroom layout ideas and smart renovation layouts for compact bathrooms cover practical options for tight spaces.
Best Grab Bar Placement for Seniors
Grab bars are the simplest safety upgrade in the bathroom, and they work only when they are installed in the right places and anchored into something that can carry a person’s full weight.
Placement That Matches How People Actually Move
Think about the path a person takes and where they need to steady themselves:
- Toilet: A horizontal bar beside the toilet at roughly seat height, plus a second bar behind or beside the toilet for leverage when standing. Many layouts use one bar on the side wall and one on the wall behind the toilet so the user can push up with either arm.
- Shower: A horizontal bar along the back wall at about waist-to-chest height for steadying, and a vertical bar near the shower entry or seat for pulling up and lowering down. Vertical bars are generally more useful for standing and sitting; horizontal bars are better for pulling and bracing.
- Tub and shower entry: A bar positioned where someone steps over the threshold, so there is a handhold before, during, and after the step.
A common pattern is to install bars at more than one height on the same wall so the user can choose the grip that feels natural, rather than forcing a single fixed height.
Load-Bearing Backing Is the Whole Game
A grab bar must be anchored into solid wood blocking or structural framing inside the wall, not drywall, not tile alone, and not a hollow-wall anchor. During a remodel, the right time to add blocking is before the walls are closed up.
Watch out: A towel bar, a suction-cup handle, or a bar anchored only into drywall can pull out under a person’s full weight and cause the exact fall it was meant to prevent.
Hardware and Installation Details That Matter
- Flange and screws: Use a bar rated for the load and fasten it with the manufacturer’s specified screws into the backing. Stainless steel is common for wet areas because it resists corrosion.
- Bar diameter and grip: A diameter that fits the user’s hand comfortably, often around 1.25 to 1.5 inches, gives a secure grip. Textured or knurled surfaces help wet hands.
- Sealing: In a shower, seal around the flanges so water does not get behind the wall finish.
Planning Grab Bars Into the Remodel
Installing bars during the remodel, before the walls are finished, is far easier and more reliable than adding them later. It also lets you place blocking exactly where the user needs it rather than where the studs happen to fall.
The article’s key grab bar specifics are summarised below, so you can see where each bar goes and what it needs.
| Location | Bar type | Placement guidance |
|---|---|---|
| Toilet | Horizontal bar beside toilet | Roughly seat height, plus a second bar behind or beside the toilet |
| Shower back wall | Horizontal bar | About waist-to-chest height for steadying |
| Shower entry or seat | Vertical bar | Near the entry or seat for pulling up and lowering down |
| Tub or shower threshold | Bar at step-over point | Handhold before, during, and after the step |
| Anchoring | Solid wood blocking or framing | Not drywall, tile alone, or hollow-wall anchors |
| Diameter | Bar grip size | Often around 1.25 to 1.5 inches |
Aging in Place Bathroom Cost and Budget Trade-Offs
Costs vary widely depending on how much of the bathroom is changed, and the scope of work drives most of the cost. A published range is only a starting reference, and it is not a quote for your home. Breaking the project into its parts shows where the money actually goes.
Where the Money Goes
- Labor: Demolition, carpentry, tile setting, plumbing, electrical, and painting. Labor is usually the largest single line item, and it scales with the number of trades and the complexity of the layout.
- Materials and finishes: Tile, flooring, fixtures, vanity, toilet, paint, and trim. Material cost depends heavily on the grade selected; a mid-grade tile and a premium tile can differ by several times per square foot.
- Plumbing: Moving a drain or supply line is one of the most expensive changes in a bathroom. Keeping the toilet and shower in their existing locations avoids much of this cost; relocating them can add significant expense and may require opening walls and floors.
Phased Upgrades vs. a Full Remodel
A phased approach spreads cost over time and lets you address the most urgent safety issues first. A common sequence is:
- Phase one, low-cost safety: Grab bars with proper backing, a slip-resistant mat or floor treatment, better lighting, and a shower chair. This phase addresses the highest-risk falls for the least money.
- Phase two, access improvements: A low-threshold or curbless shower entry, a handheld showerhead, and a comfort-height toilet. This phase often requires plumbing and tile work.
- Phase three, full layout and finish update: Widening doorways, reconfiguring the layout for turning space, replacing the vanity, and upgrading finishes.
A full remodel does all of this at once. It usually costs more upfront but can be less expensive overall than three separate projects, because the room is opened only once and trades are mobilized a single time. The trade-off is that a full remodel requires the bathroom to be out of service for the duration, which may not be practical for a household with limited mobility.
Cost Drivers to Watch
- Shower replacement vs. entry modification: Modifying only the shower entry is far less expensive than replacing the entire shower.
- Plumbing relocation: Keeping fixtures in place is the single biggest cost saver.
- Finish grade: Tile, fixtures, and vanity selections can swing the budget substantially without changing safety.
Watch out: A quote that is dramatically lower than others often excludes waterproofing, permit fees, or backing for grab bars, items that are expensive to add later. Ask each contractor what is included and what is excluded before comparing prices.
Pricing depends on the scope of work and materials. For current numbers that match your project, contact ALVA RENOVATIONS LLC for a free estimate.
Aging-in-place bathroom cost ranges
Senior Bathroom Remodel Grants and Funding Options
Funding for accessibility upgrades can come from several places, but availability and eligibility vary by program, state, and household income. Many programs are targeted to older adults, people with disabilities, or low-income homeowners. Before planning a budget, check with your local housing authority, area agency on aging, and state housing finance agency about current programs. Be sure to confirm any program details directly with the official source, since funding rules and amounts change over time.
Planning Your Aging-in-Place Bathroom Project Next
A well-planned bathroom project starts with an honest look at current and future needs, then moves to layout, safety features, and budget. Our page on how often a contractor should communicate during a remodel explains what to expect. When you are ready to start, ALVA RENOVATIONS LLC offers bathroom remodeling services with a clear, structured process.
Get a free estimate from ALVA RENOVATIONS LLC and talk through the safety features and layout that fit your home.
Frequently Asked Questions
What are the essential features for an aging-in-place bathroom?
The core features are a curbless or low-threshold shower, slip-resistant flooring, reinforced grab bars at the toilet and shower, a handheld showerhead with a shower seat, lever-style faucets, and good lighting. Most homeowners start with entry and floor safety because falls in the bathroom are a leading cause of home injuries. Add features in order of risk: flooring and entry first, then support bars, then fixtures and controls. Planning these together during one remodel costs less than adding them piecemeal later.
How much does it cost to remodel a bathroom for aging in place?
Costs depend on location and project scope. Costs rise with a full tub-to-shower conversion, plumbing relocation, and widened doorways. Smaller changes like grab bars and a shower seat cost far less. Request itemized estimates so you can compare each safety feature separately.
Are there government grants available for senior bathroom remodels?
Some funding exists through federal, state, and local programs, including home repair and accessibility assistance for older adults and people with disabilities. Eligibility usually depends on age, income, and whether you own or rent the home. Area Agencies on Aging and state housing finance offices are good starting points. Verify any program’s current terms directly with the agency before planning your budget around it.
What are the ADA requirements for residential bathrooms?
The ADA’s accessibility standards apply to public and commercial facilities, so they do not legally govern most private homes. Homeowners often use ADA dimensions as a design benchmark, including a 60-inch turning circle, 30-by-48-inch clear floor space at fixtures, and 36-inch-wide doorways. Universal design and aging-in-place guidelines are the more relevant reference for home remodeling. Applying these dimensions makes a bathroom easier to use at any age.
What is the best grab bar placement for seniors?
Install grab bars at the toilet, beside the shower entry, and along the shower wall where people stand and reach. Mount them into wall blocking or studs rather than drywall alone, since anchors often fail under body weight. A horizontal bar at about 33 to 36 inches above the floor helps with pushing up, while a vertical bar near the entry helps with stepping in and out. Have a professional confirm load-rated placement before installation.
How can ALVA RENOVATIONS LLC help with my aging-in-place bathroom project?
ALVA RENOVATIONS LLC plans and manages bathroom remodels with a structured process that includes measuring existing space, reviewing layout options, and setting a clear project timeline. The team works with homeowners in the Greater Bellingham area and can coordinate projects from a distance where needed. Pricing depends on scope and materials, so ALVA RENOVATIONS LLC recommends requesting a free estimate for current pricing.
